Bullet Journaling: A Simple How To Guide
By Serena Bailey
If, like me, you spent any time on Pinterest this summer, you’ve probably heard of bullet journals and seen the pictures of washi tape-covered pages and handwriting that you could only dream of having.
After coveting the notebook spreads I was seeing online, I decided to start my own in June. I am by no means a very artistic person. My stick people are lopsided. So if you’ve been intrigued by the idea and don’t know where to begin, or just don’t think you’re creative enough, here’s a simple guide to get you started.
What is a bullet journal?
The simple answer is that a bullet journal is anything you want it to be. It can be a planner, an idea notebook, an actual journal, or all of those things. I’ve seen it described as an analog planning system for a digital age, and that description isn’t too far off. It’s a place for you to keep up with things like due dates, exercise goals, books you want to read, and so much more.
What you’ll need:
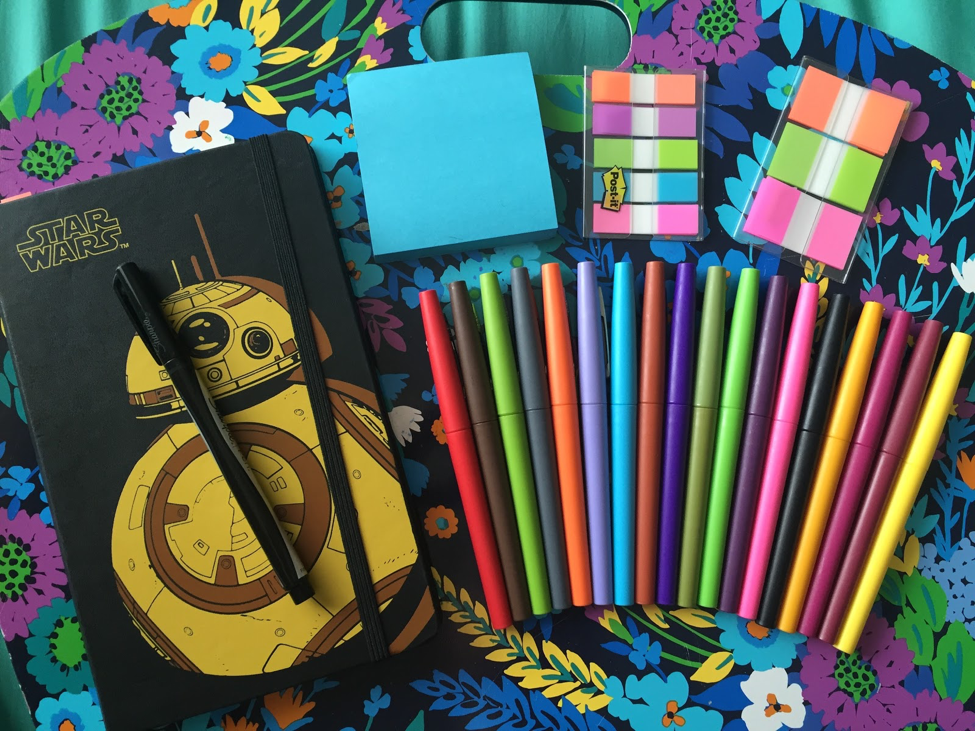
A notebook: I use a Star Wars themed Moleskine journal that I bought at Target for $25. I splurged a little to get the Star Wars one because I love BB-8. A lot of bullet journalers online seem to love Leuchtturm journals as well, but in truth any sturdy notebook, like a spiral or composition notebook will do. Some people prefer gridded notebooks or blank ones instead of lined, too. It all comes down to personal preference.
Pens: I love pens. My pen collection is large enough that my roommate shakes her head every time she sees it. But for my bullet journal, I use my favorites – PaperMate Flair felt tip pens and a Sharpie fine tip pen. I got the PaperMate Flair in a 20 pack at Sam’s Club for $12, but you can find smaller packs at other stores like Target. The Sharpie pens are also sold at Target, $5 for a three pack. In truth, any pen or pencil would do for writing, just as any kind of colored pencil or marker could be used to add color and style.
Sticky Notes: These are optional, but extremely useful. I use mine to flag pages I know I’ll want to look at again, and the classic squares come in handy when I just want to make a quick note on my weekly spread.
Setting it up
A lot of people start with an index in the front of their journals. They write the page number and what’s on each page as they go. I tried this and personally found it useless. I rarely look at my index, opting instead to flip through until I find what I’m looking for or go to pages I’ve bookmarked. If you do want to set up an index, make sure you take note of how many pages your journal has so you leave enough of them blank at the front.
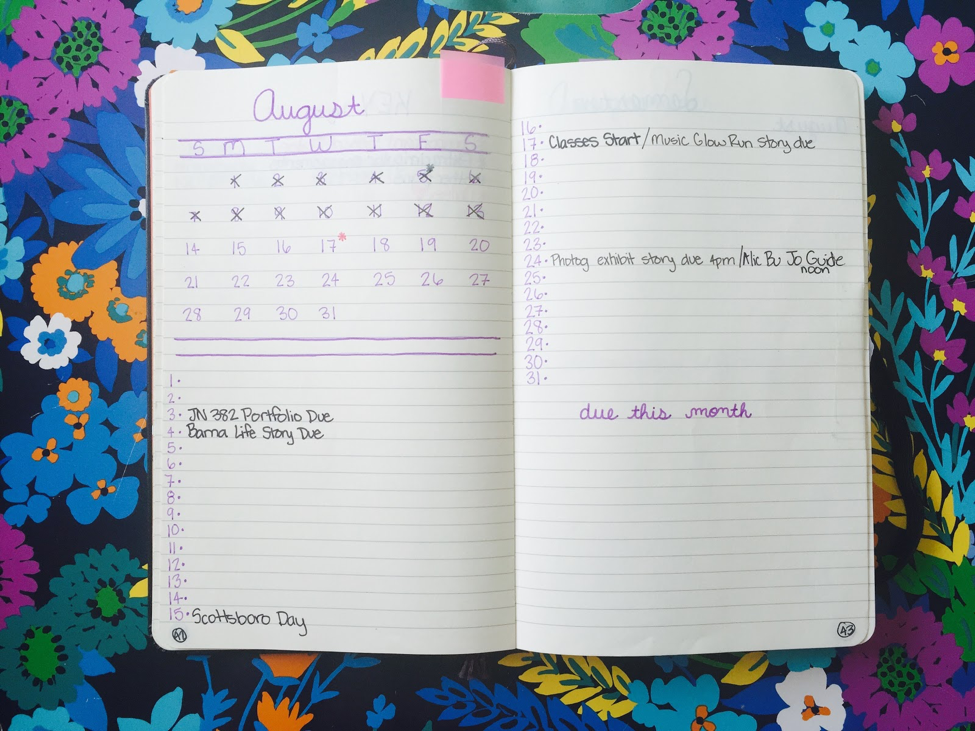
One of my most important pages is my monthly spread. I usually write anything I want to look fancy in pencil first and then trace over it later with one of the pens. After trying a couple different variations over the summer, this style has turned out to be my favorite.
After gridding out the dates for the month, I’ve numbered the days down the page, allowing me to write important events or deadlines. Since classes started this month, I used the space left over at the bottom of the second page for assignments that would due.
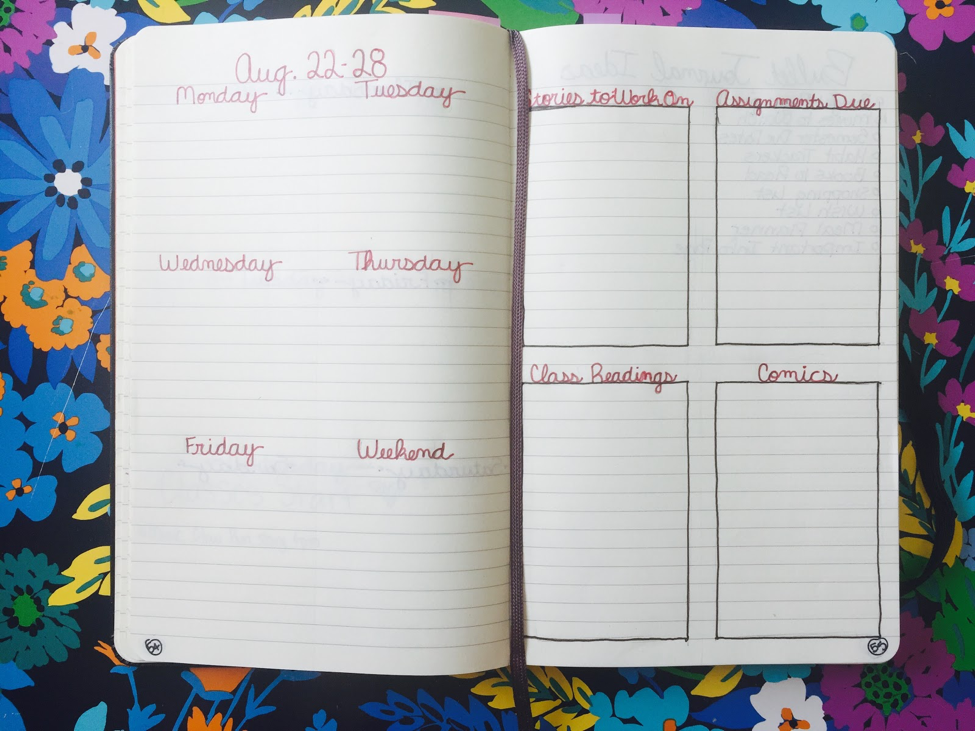
Each week gets its own two-page spread as well. Now that the year has really started, I’ve created an adapted version of my usual weekly spread. On one side, I have the days of the week with the weekend combined into one heading. This is where I write to-do lists for each day as well as anything due on those days. On the other side I drew four blocks. One for stories I need to work on (like this one), one for assignments that are due, one for assigned readings for the week, and one for the comics I plan to get from the comic shop on Wednesday.
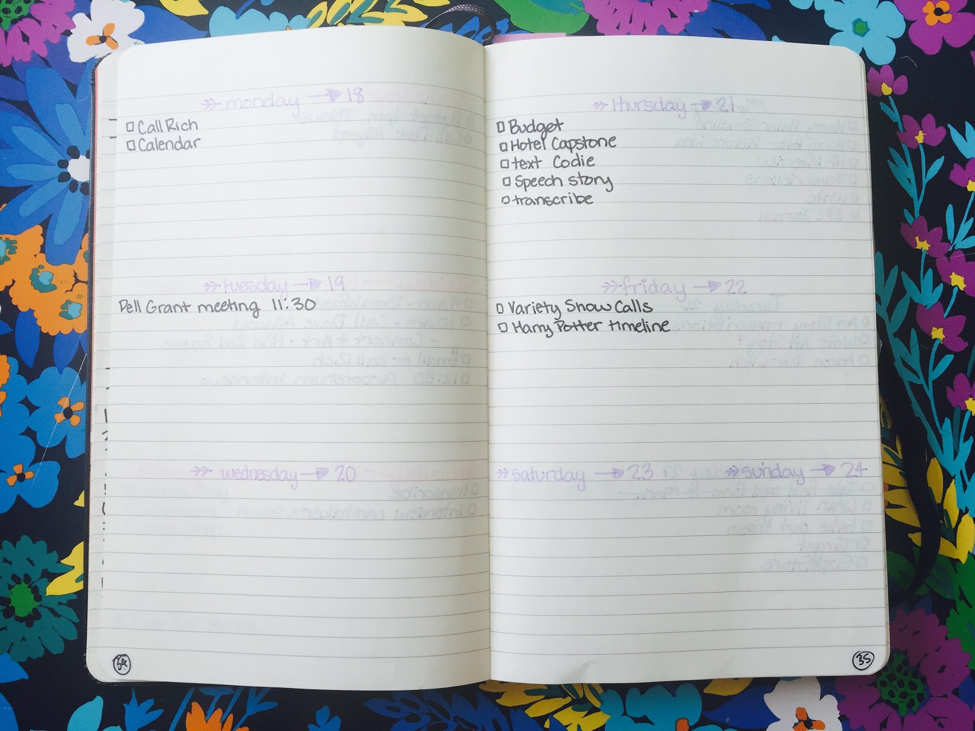
You can do anything you want with the grids. You can create a shopping list for that week, an exercise regime, a list of phone calls you need to make or you can forgo the grid and do a more simple weekly spread like this one, which is more like the weekly spreads I did over the summer.
While I initially thought the bullet journal would be harder to keep up with once classes started, I’ve found the opposite to be true. The flexibility of the bullet journal and the freedom of design allows me to keep all my important notes in one place. Once I got my syllabi, I created a spread for all the due dates of major tests and projects. Since my bullet journal goes with me wherever I go, I know have a simple way to look at important dates for my semester.
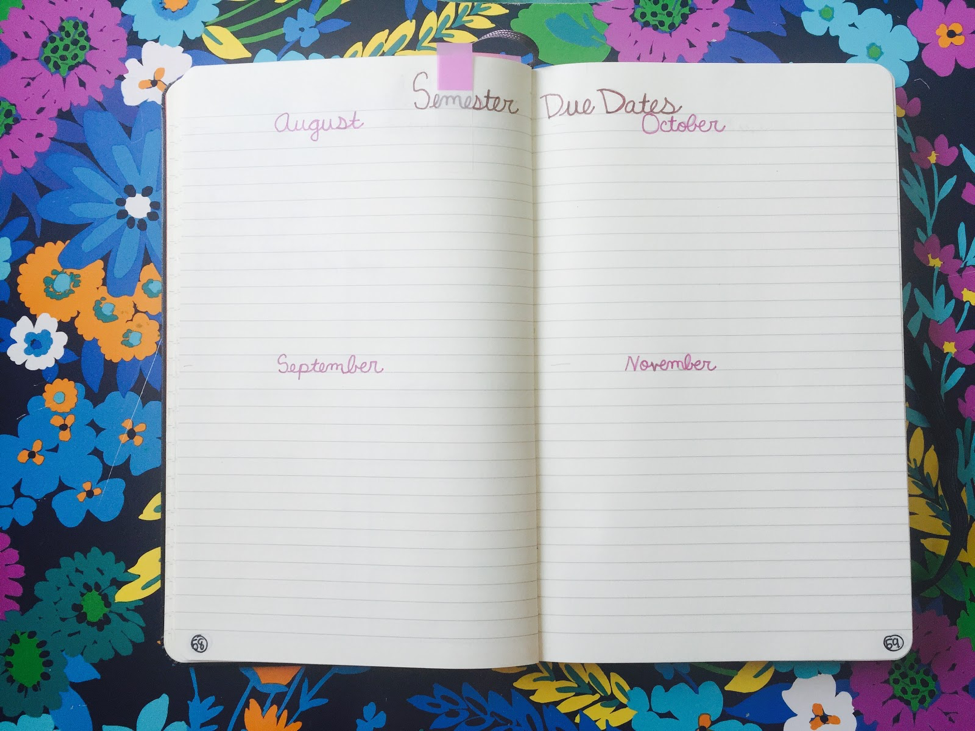
I did make one change to this page after I filled it in. I drew two boxes: one above September for weekly recurring assignments like Blackboard discussion posts, and another below November’s assignments that has the dates and times of my finals.
You can put all sorts of other pages in a bullet journal too.
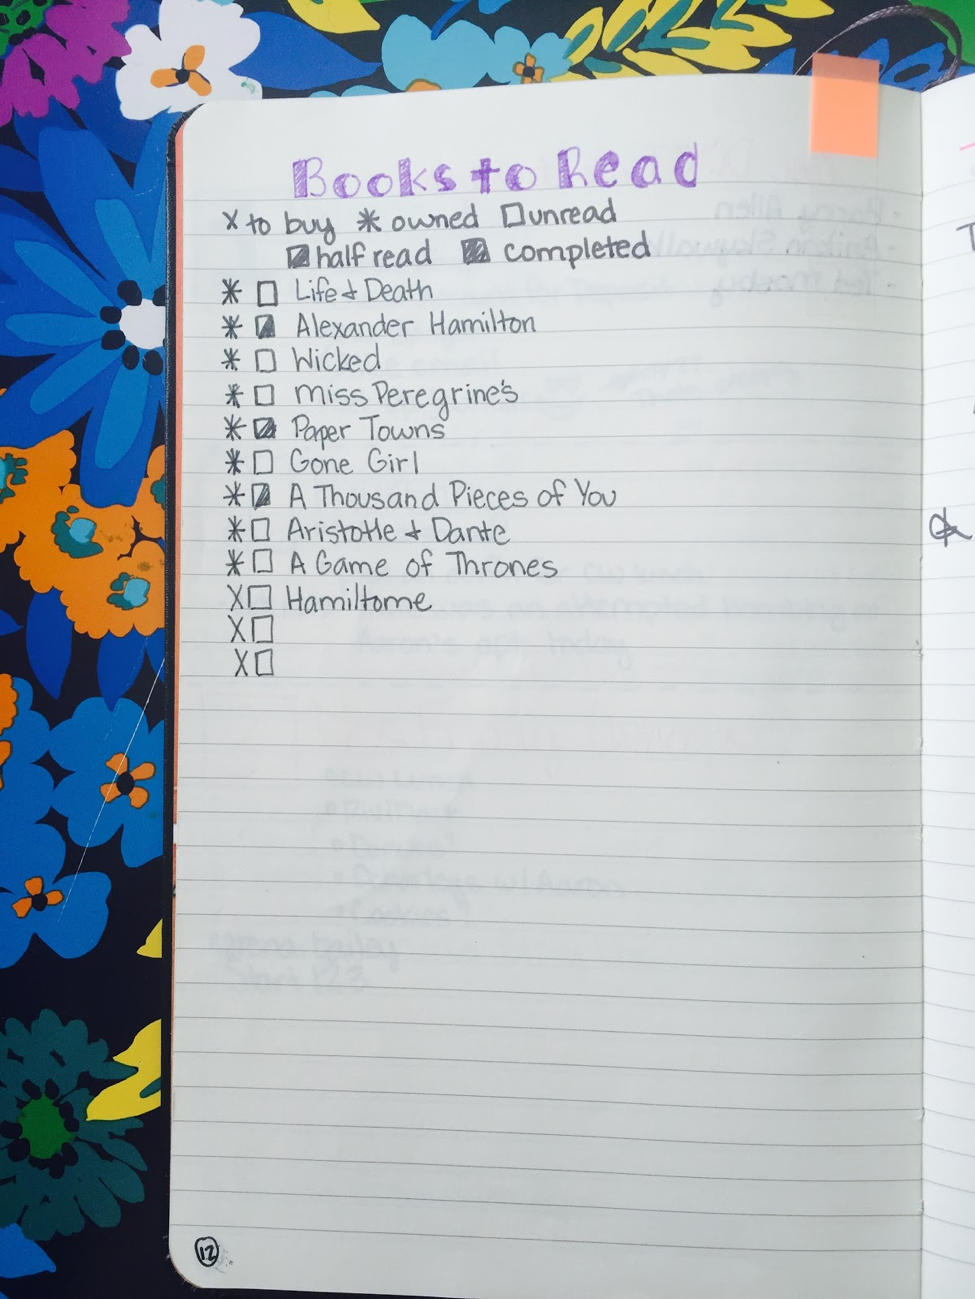
I have a “books to read” page and a “bullet journal page ideas” page. Many people draw what’s known as a “habit tracker.” It’s a grid drawn at the beginning of the month that allows you to track things you want to do daily like going to the gym, studying for an hour, drinking enough water, or reading for a certain amount of time. For any habit you want to build, a habit tracker can help you see how well you’re doing.
Many people also create a page for monthly or weekly budgeting to help them track and control their spending. Variations on this are endless depending on the best method of money tracking for you. It can look like an excel spreadsheet or it can look like a check register. Trying to save up for something big? Then you can create a page just for that to help you reach your goal.
That’s the beauty of a bullet journal. It can be anything you want it to be. It’s your life wrapped in a little book, all created by you. You can do anything you want with it really.
Photos by Serena Bailey.